目录
前提
django默认不支持websocket,需要安装组件:
shellpip install channels daphne
- 在较新版本的Django框架下还需要安装daphne
配置
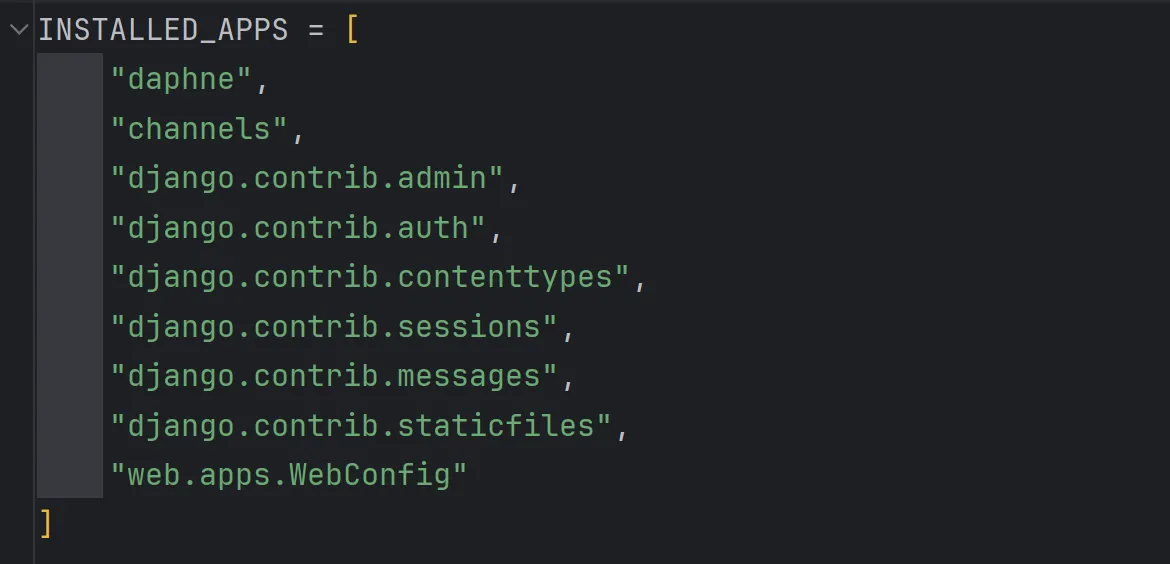
注册channels
PythonINSTALLED_APPS = [
    "daphne",
    "channels",
    "django.contrib.admin",
    "django.contrib.auth",
    "django.contrib.contenttypes",
    "django.contrib.sessions",
    "django.contrib.messages",
    "django.contrib.staticfiles",
    "web.apps.WebConfig"
]

在settings.py中添加 asgi_application
PythonASGI_APPLICATION = "ws_demo.asgi.application"

修改asgi.py文件
Pythonimport os
from django.core.asgi import get_asgi_application
from channels.routing import ProtocolTypeRouter, URLRouter

from . import routing

os.environ.setdefault('DJANGO_SETTINGS_MODULE', 'ws_demo.settings')

# application = get_asgi_application()

application = ProtocolTypeRouter({
    "http": get_asgi_application(),
    "websocket": URLRouter(routing.websocket_urlpatterns),
})
在settings.py的同级目录创建 routing.py
Pythonfrom django.urls import re_path

from app01 import consumers

websocket_urlpatterns = [
    re_path(r'ws/(?P<group>\w+)/$', consumers.ChatConsumer.as_asgi()),
]
在app目录下创建 consumers.py,编写处理处理websocket的业务逻辑。
Pythonfrom channels.generic.websocket import WebsocketConsumer
from channels.exceptions import StopConsumer


class ChatConsumer(WebsocketConsumer):
    def websocket_connect(self, message):
        # 有客户端来向后端发送websocket连接的请求时,自动触发。
        # 服务端允许和客户端创建连接。
        self.accept()

    def websocket_receive(self, message):
        # 浏览器基于websocket向后端发送数据,自动触发接收消息。
        print(message)
        self.send("不要回复不要回复")
        # self.close()

    def websocket_disconnect(self, message):
        # 客户端与服务端断开连接时,自动触发。
        print("断开连接")
        raise StopConsumer()
启动效果
- 传统启动:

- 实现了WebSocket启动:

学习视频
如果对你有用的话,可以打赏哦
打赏


本文作者:GYC
本文链接:
版权声明:本博客所有文章除特别声明外,均采用 BY-NC-SA 许可协议。转载请注明出处!
目录